More and more of my clients are using their own devices to create video content. It’s a interesting by-product of the smart-phone/smart-device revolution and puts video production in everybody’s pocket. There is of course still no real substitute for the quality that camera and sound professionals bring to a production, but there is no doubt that ‘User Generated Content’, as it is termed, can provide an authentic viewing experience, which the audience instinctively finds credible, that professional productions can struggle to emulate.
As with all media, print, design, photography, etc. there is a place for both professional and user generated to coexist, sometimes side by in the same production. In fact the latter can be a happy ‘half-way’ house; saving you money on the production and time spent attempting to edit the results into something professional looking. As I often say, you wouldn’t print a brochure or prospectus on the office printer, you would engage a professional, but there are some instances where something ‘home made’ is entirely appropriate.
Here then is our quick start guide for anyone attempting to capture some video for their organisation on a phone or tablet.
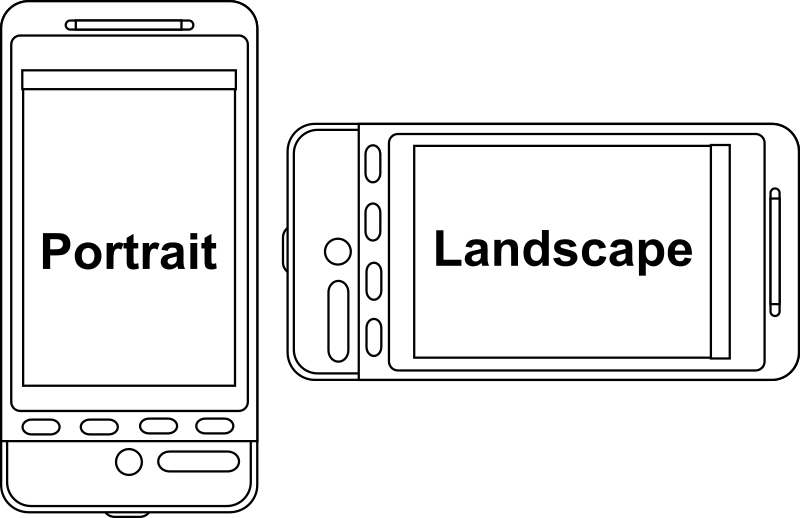
1Use your camera horizontally not vertically (landscape not portrait.)
Unless you intend your video to be viewed in portrait for a social media post or similar, most video is still presented in landscape mode.
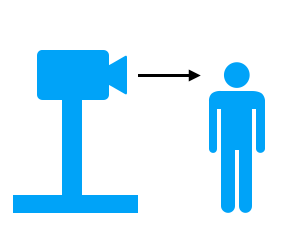
2Place the camera on a tripod or stand – this can be improvised if none available. The important point is that the camera should be still and at eye level with the contributor – not looking up at or down to the camera.

3Light – make sure both sides of the face are evenly lit and that the light doesn’t vary during the interview (the sun coming in and out for instance).
4Sound – record in a very quiet place, where you are unlikely to be disturbed.

Noises which our brains ‘filter’ out in everyday life (traffic, machinery other people talking etc.) will sound much louder and more distracting on a video recording.
Noises off camera are very distracting to the viewer.
If there is a noise during an answer ask the interviewee if they wouldn’t mind answering again. Often we can edit together the best bits of both.
Wind noise on the microphone can be a real problem (even from quite gentle breezes) so it might be best to record indoors if you are In doubt.
If your device allows you to ‘monitor’ the audio as you record with earphones this would be helpful. If not have a listen back to a test recording before the interview and then listen to the full recording before you release your contributor.
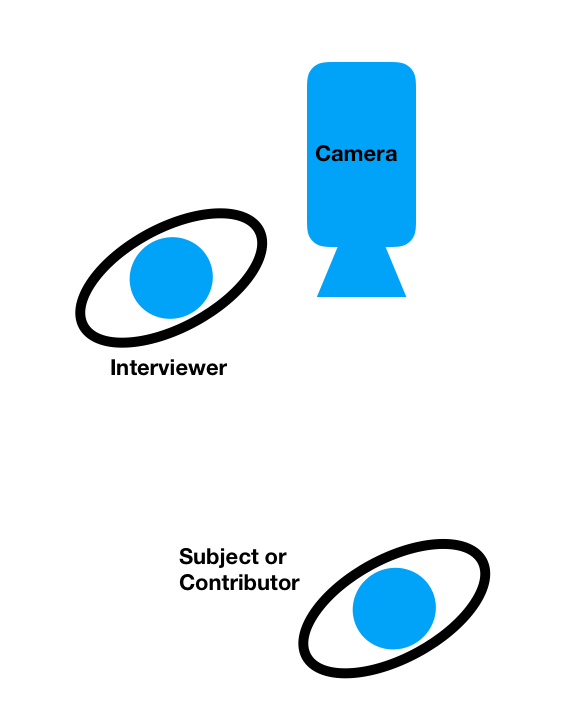
5For interviews place yourself just to the side of the camera and ask contributor to look at you rather than directly at camera. This looks nicer and feels more comfortable for your contributor.
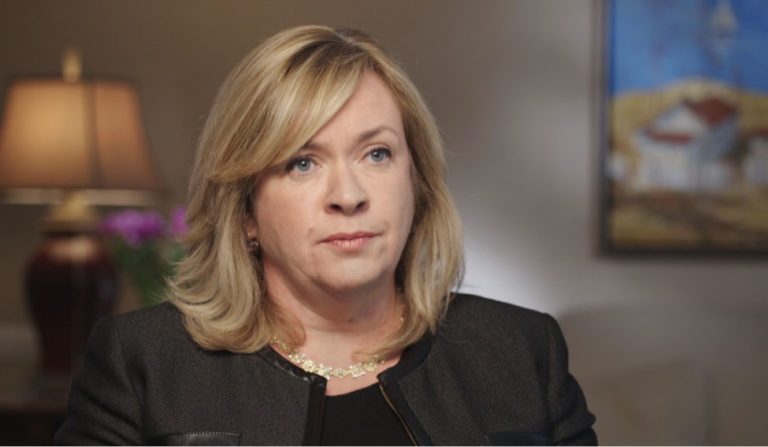
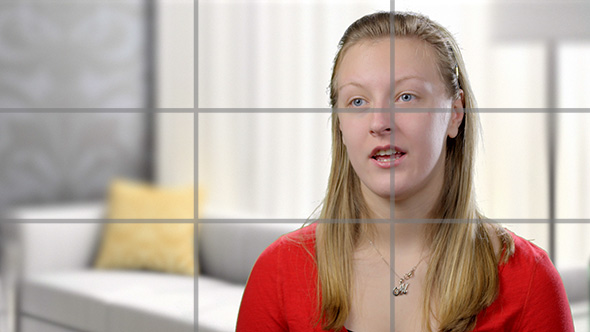
6Frame the contributor so that if they look right to left there are slightly to right of centre in the frame. If they look left to right frame them slightly to left of centre.
7Try to have your contributor give the context of the question in the answer as we will (try) not use the questions in the finished film. So as a simple example if I were asked ‘Where do you live?’ I might answer ‘Thetford’ but for our film I would need to say ‘I live in Thetford.’ So our audience understand my answer.
8Film some shots of your contributor doing some other activity at work or at home that we could use alongside the interview. The sound is not critical for these shots but this will help set the scene and allows us to edit the interview by using the audio over these shots. These could be filmed hand held if this is easier, but try to keep the camera still and move it smoothly if you need to.